Wizard Tutorial
The Wizard Tutorial is an interactive walkthrough built into Tweenly. It guides you through the core interface — Gallery, Editor, objects, and saving — step by step with highlighted UI elements.
Starting the tutorial
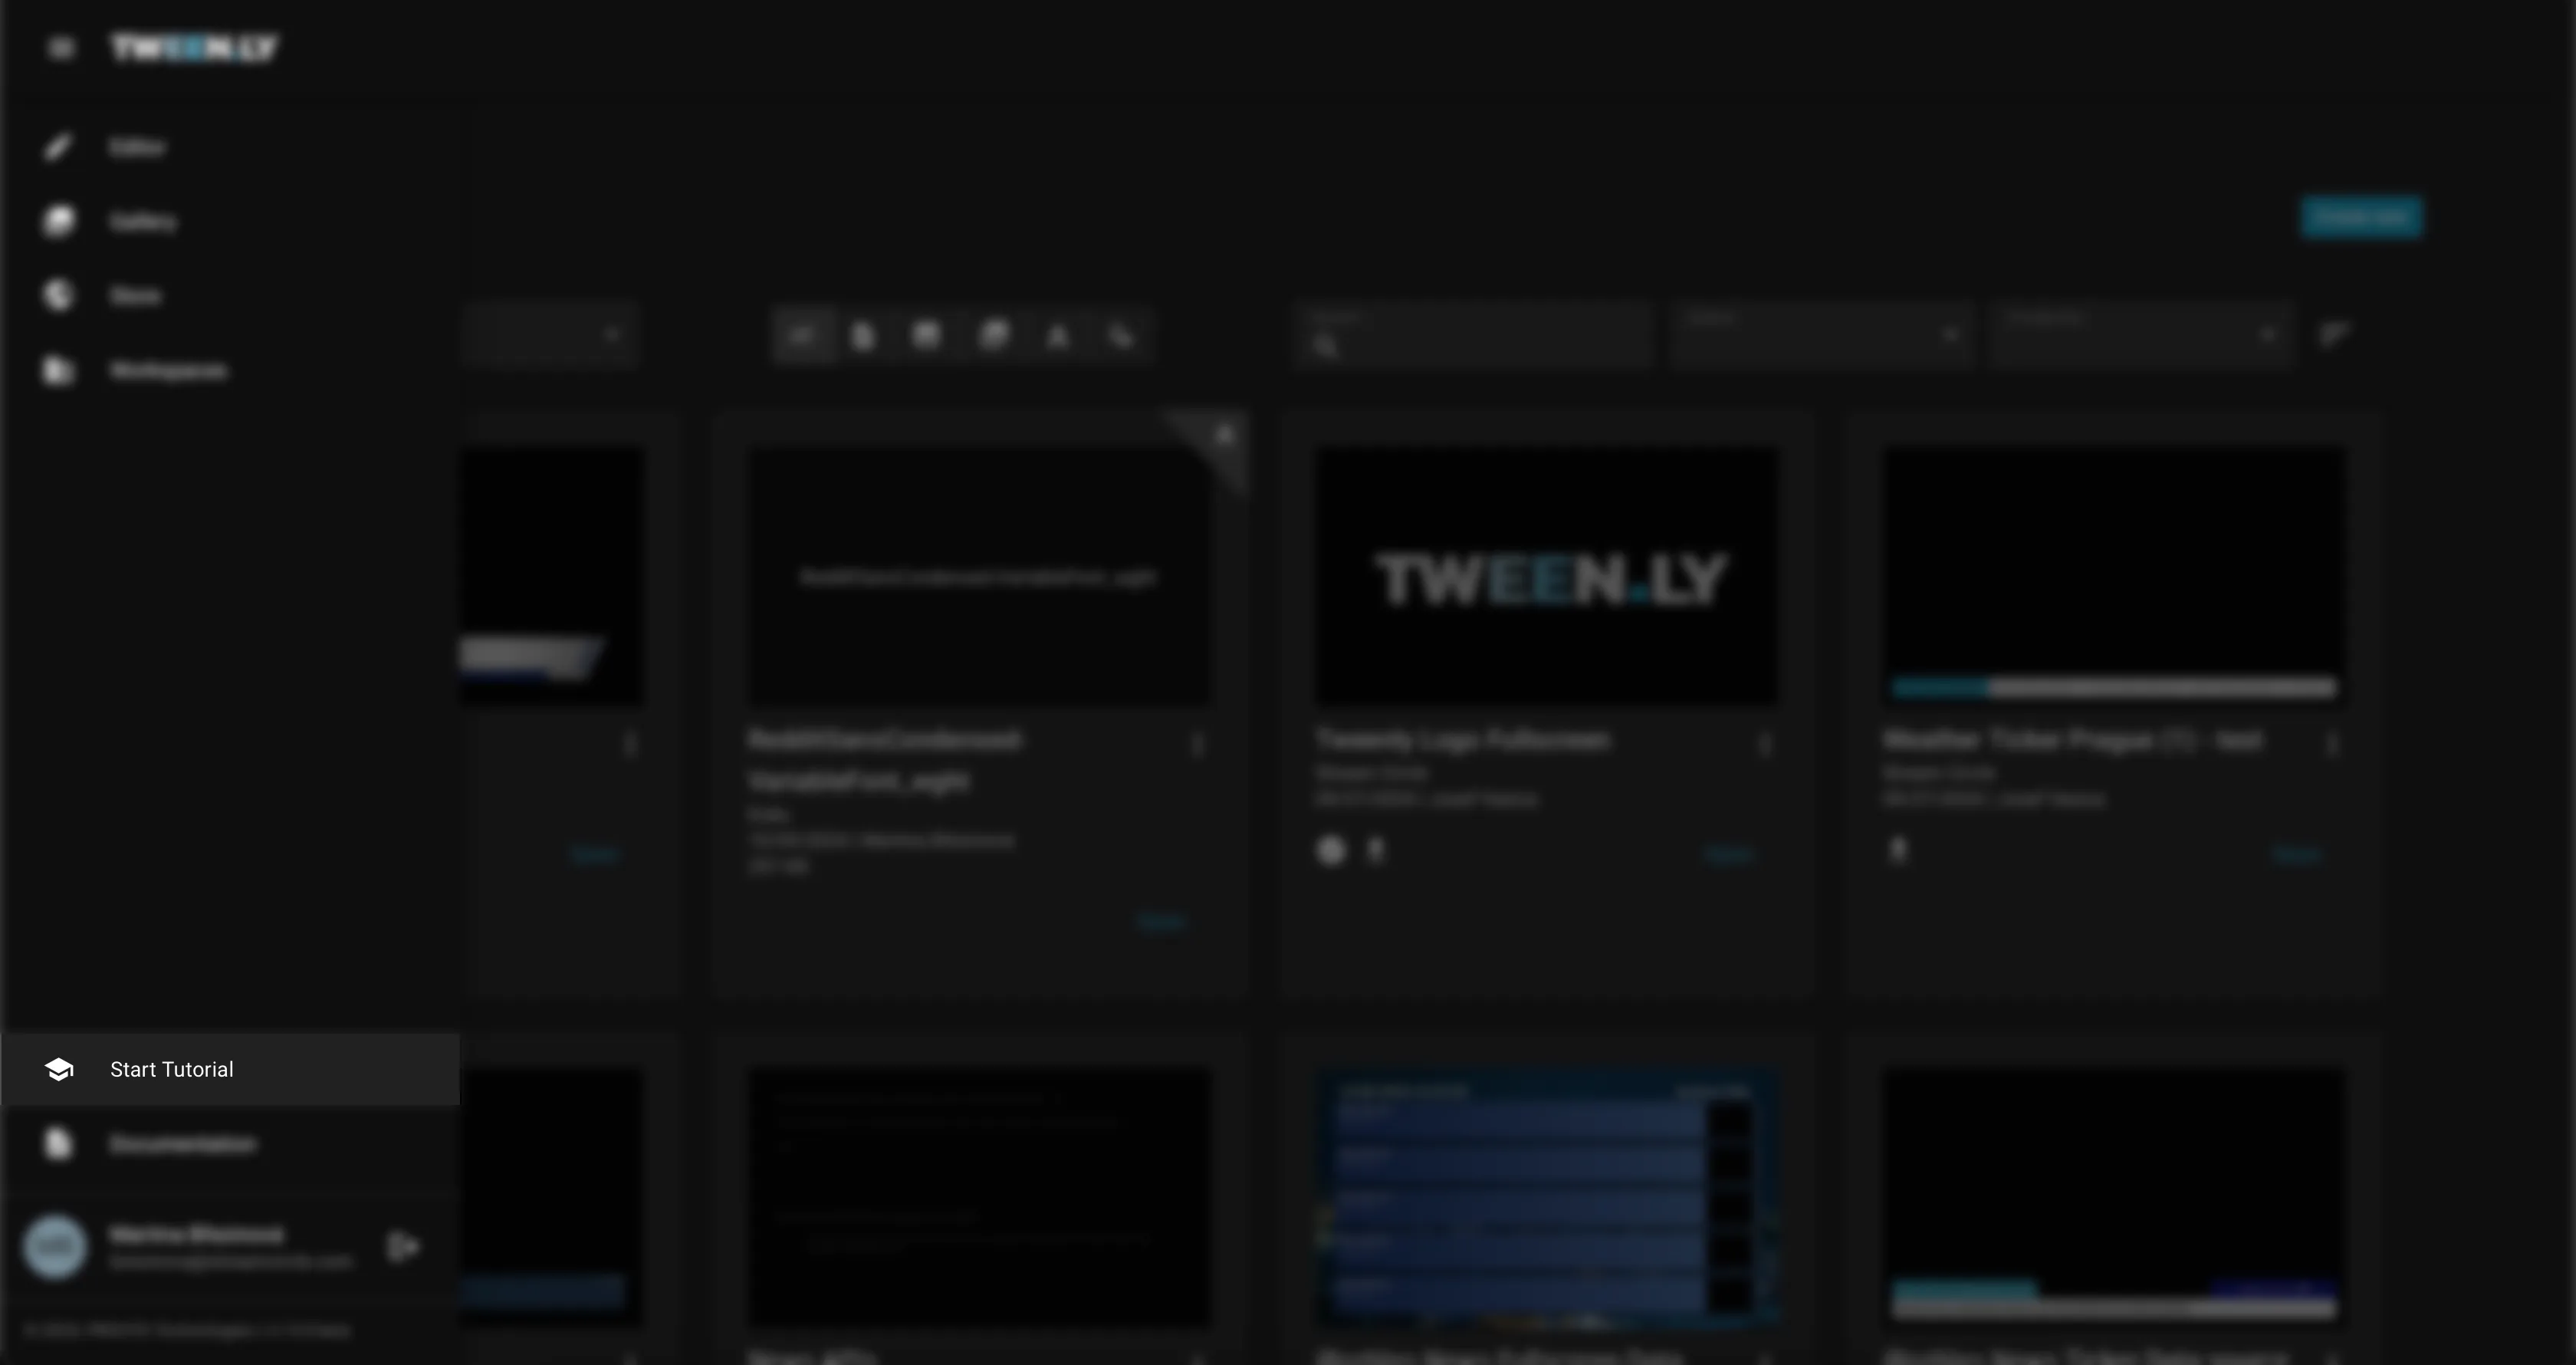
- Open the main menu (hamburger icon in the top bar).
- Select Tutorial.
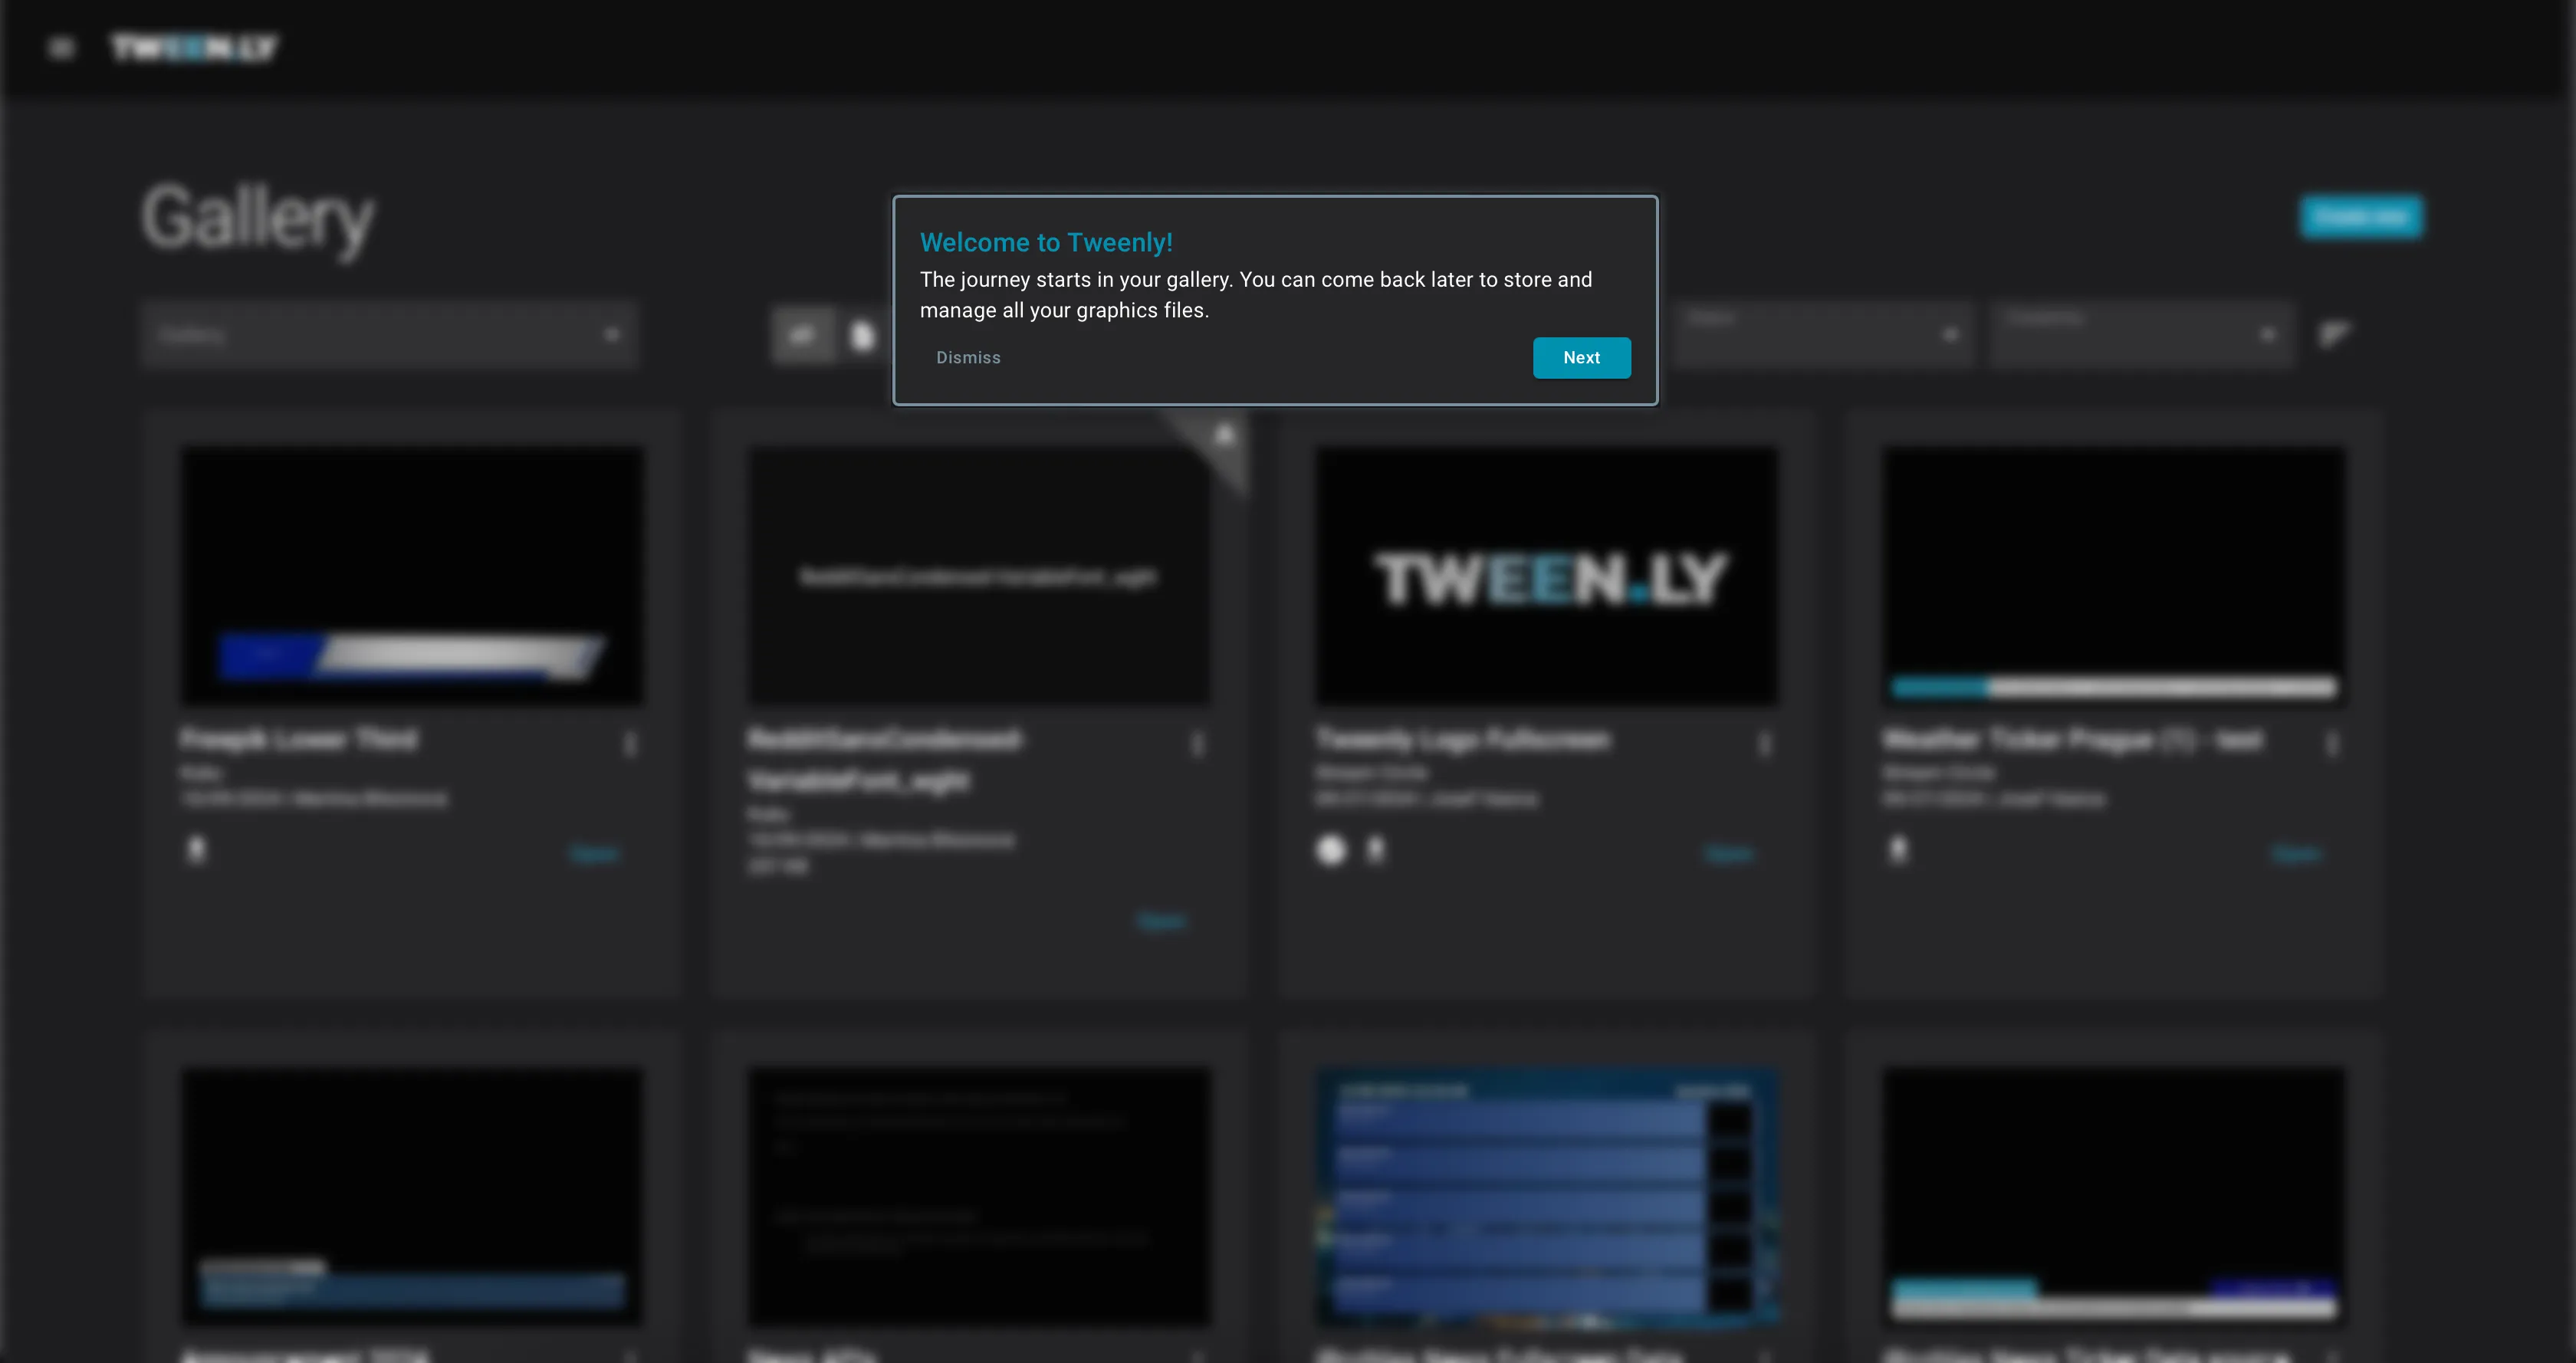
- The tutorial starts in the Gallery and walks you through the key sections.
- Click Next to continue through each step, or Dismiss to exit.
What the tutorial covers
The Wizard Tutorial introduces:
- Gallery — how to find and manage your graphics files.
- Creating a new graphic — opening the Editor with a blank canvas.
- Adding objects — placing rectangles, text, and images on the canvas.
- Editing properties — using the Right Sidebar to adjust styles and positioning.
- Saving your work — the manual save process and metadata fields.
The tutorial highlights each UI element as you go, so you can see exactly where things are.
What the tutorial does NOT cover
The Wizard covers the basics only. For deeper topics, continue with:
- Create Your First Graphic — hands-on step-by-step (including animations and export)
- Animations & Timeline — animation types, timing, easing, labels
- Data Source & API Control — connecting live data
- From Design to Broadcast — the complete workflow from design to playout
What’s next?
After completing the tutorial, follow Create Your First Graphic for a complete hands-on walkthrough that includes animations and exporting.